
In our endeavor to produce a highly diverse and rich compost for regenerating our soils, we have included an advanced technique called “Johnson-Su Bioreactor”. This composting method has been developed by molecular microbiologist David C. Johnson and his wife Hui-Chun-Su. They were looking for a composting system low in salts, presenting a high fungal bacteria ratio, low maintenance, and able to boost crop growth. That’s how the Johson-Su Bioreactor was born.
Some of the main advantages of the Bioreactor are that it’s made with easy-to-find materials, it’s cheap and doesn’t require maintenance once built and filled. In fact, we don’t disturb the composting process, allowing fungi to spread and colonize the pile. The Bioreactor is made of metallic mesh, used in the construction industry or for fencing, landscape cloth, a pallet, and perforated plastic pipes (10cm diameter), though they are only used for one day.


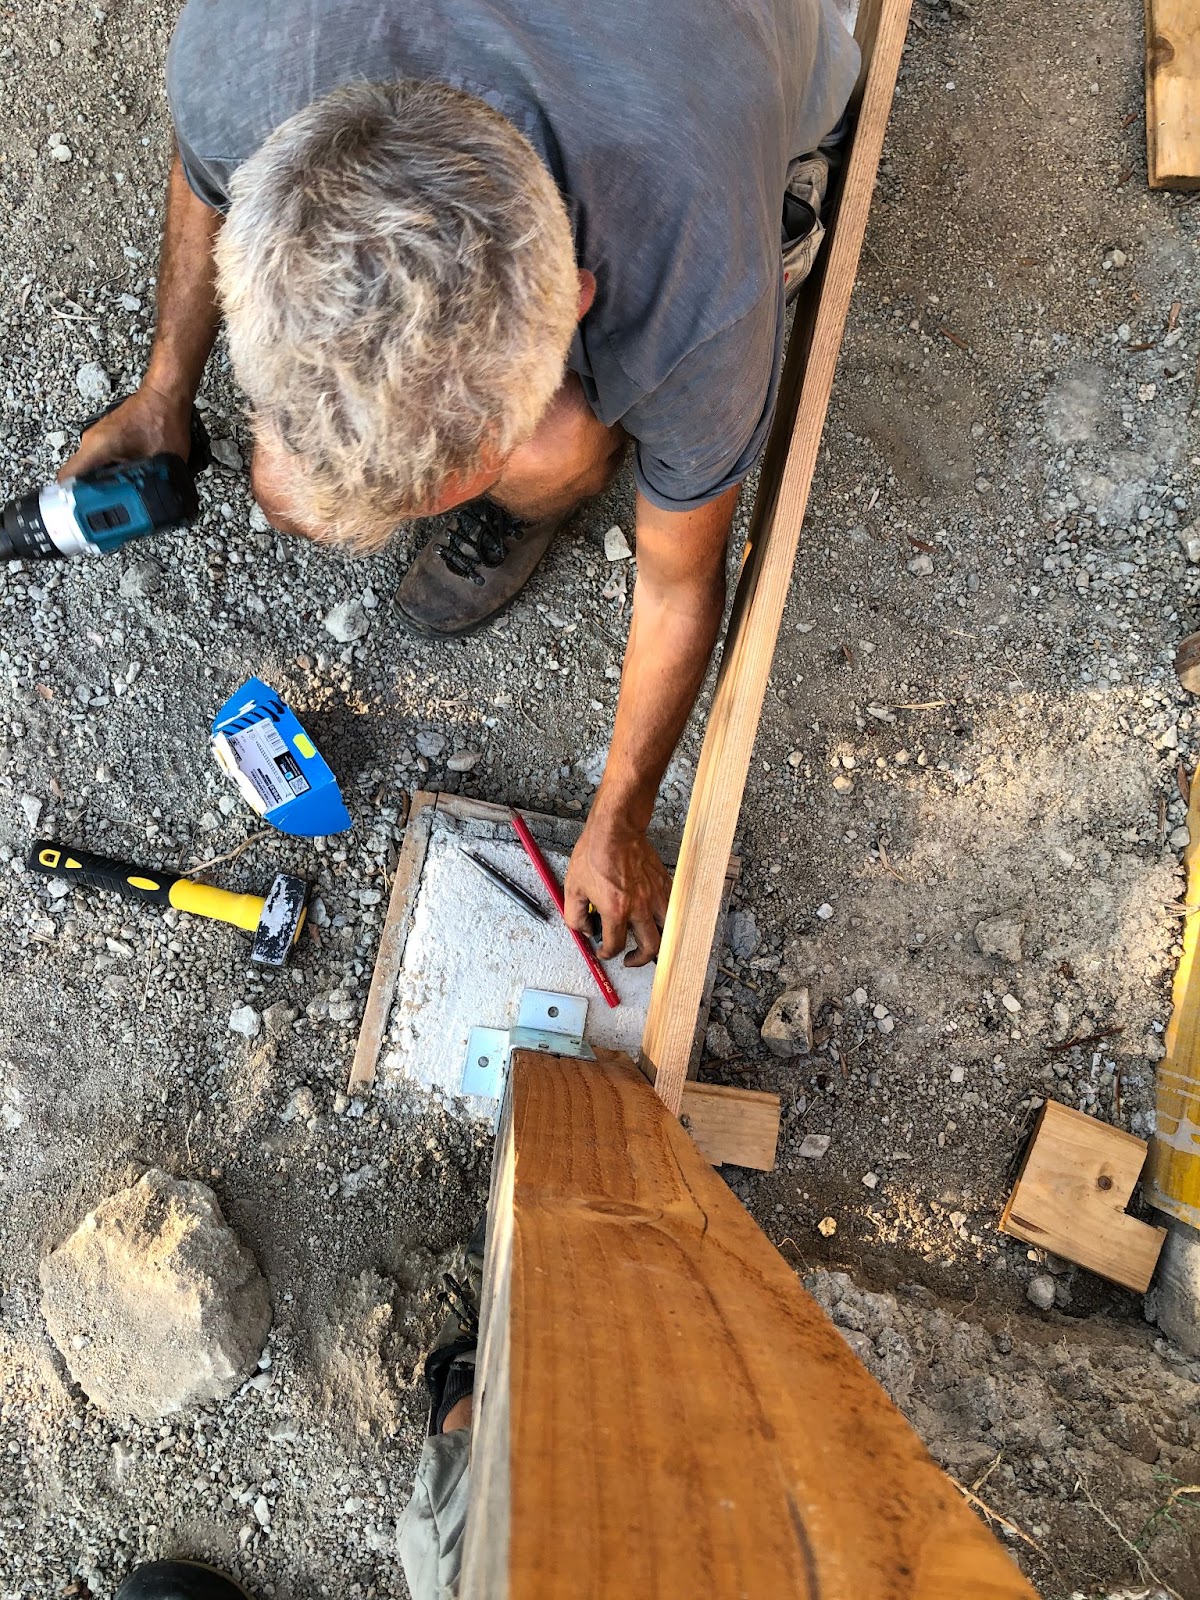
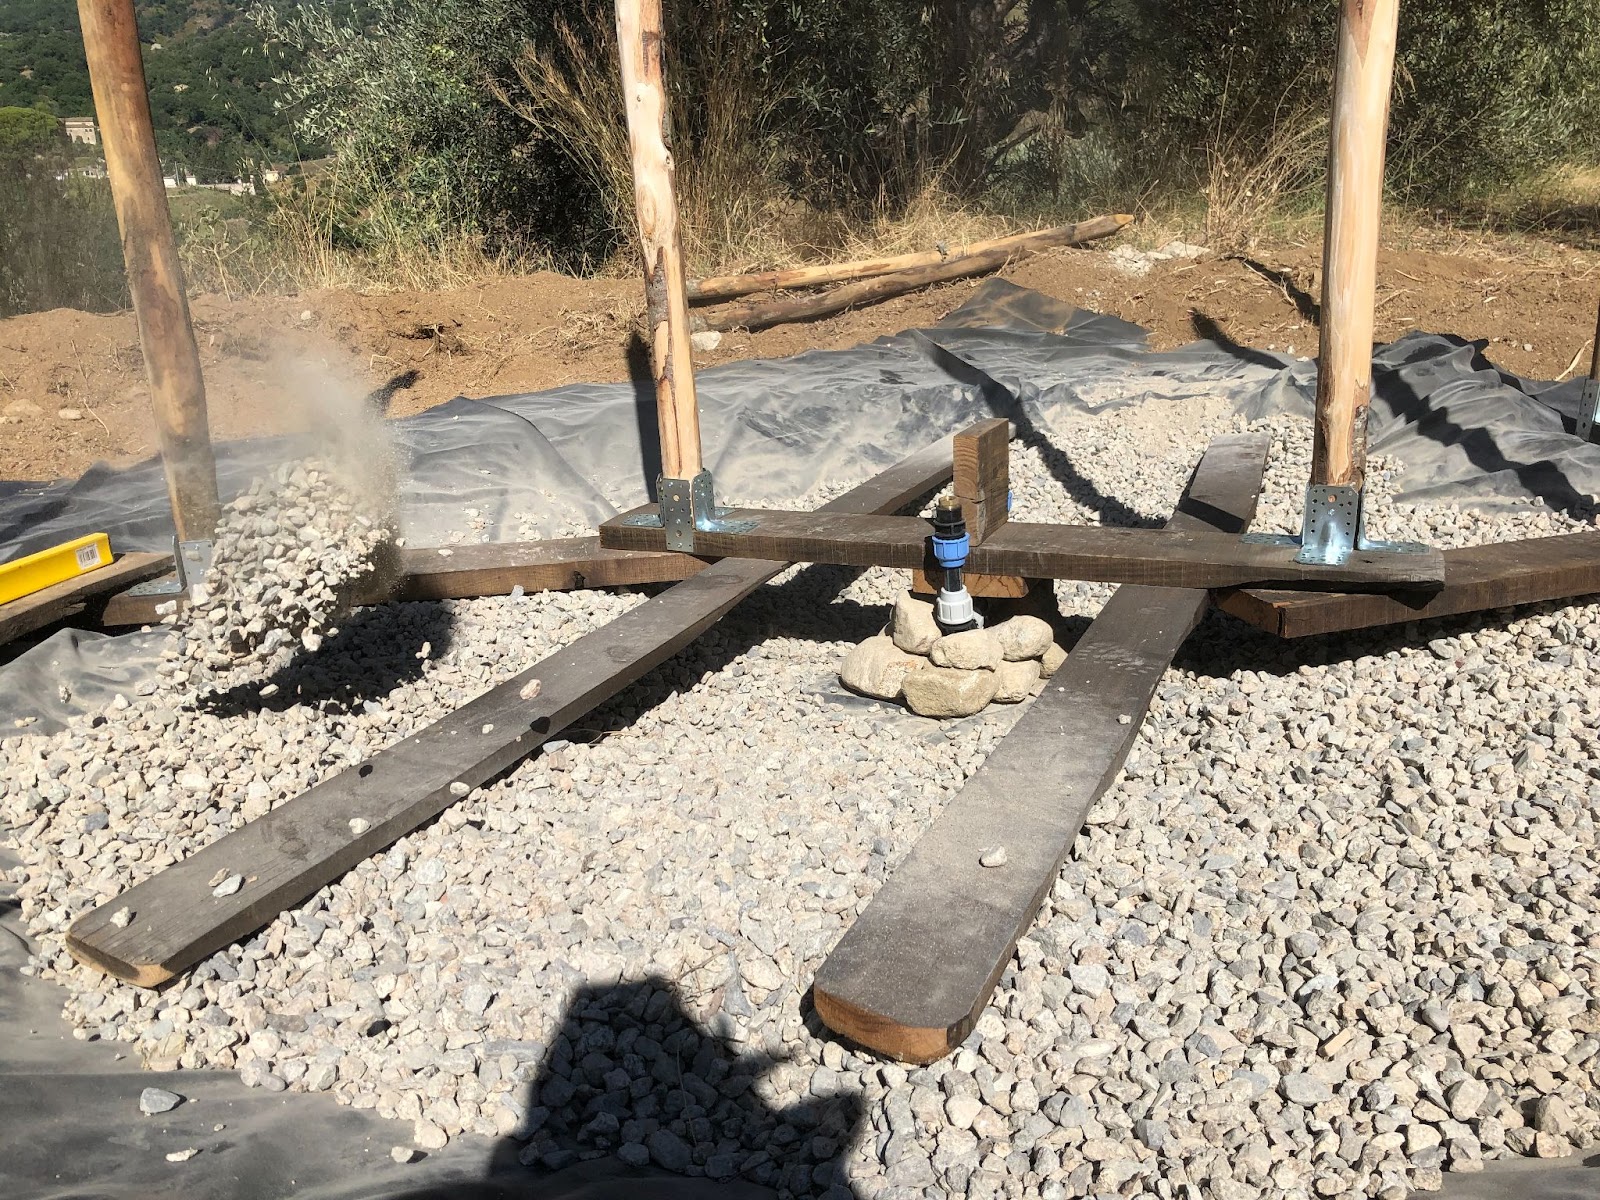
Picture at the left: Chris is setting the plastic pipes for aeration. These pipes keep the Bioreactor with oxygen at the beginning of the process.
After the first day, fungal hyphae (the filamentous structure of a fungus) are already set in the pile so much that you can pull the pipes out. The six vents will stay open and allow air to flow up from under the pallet, which is slightly elevated, keeping an aerobic environment.
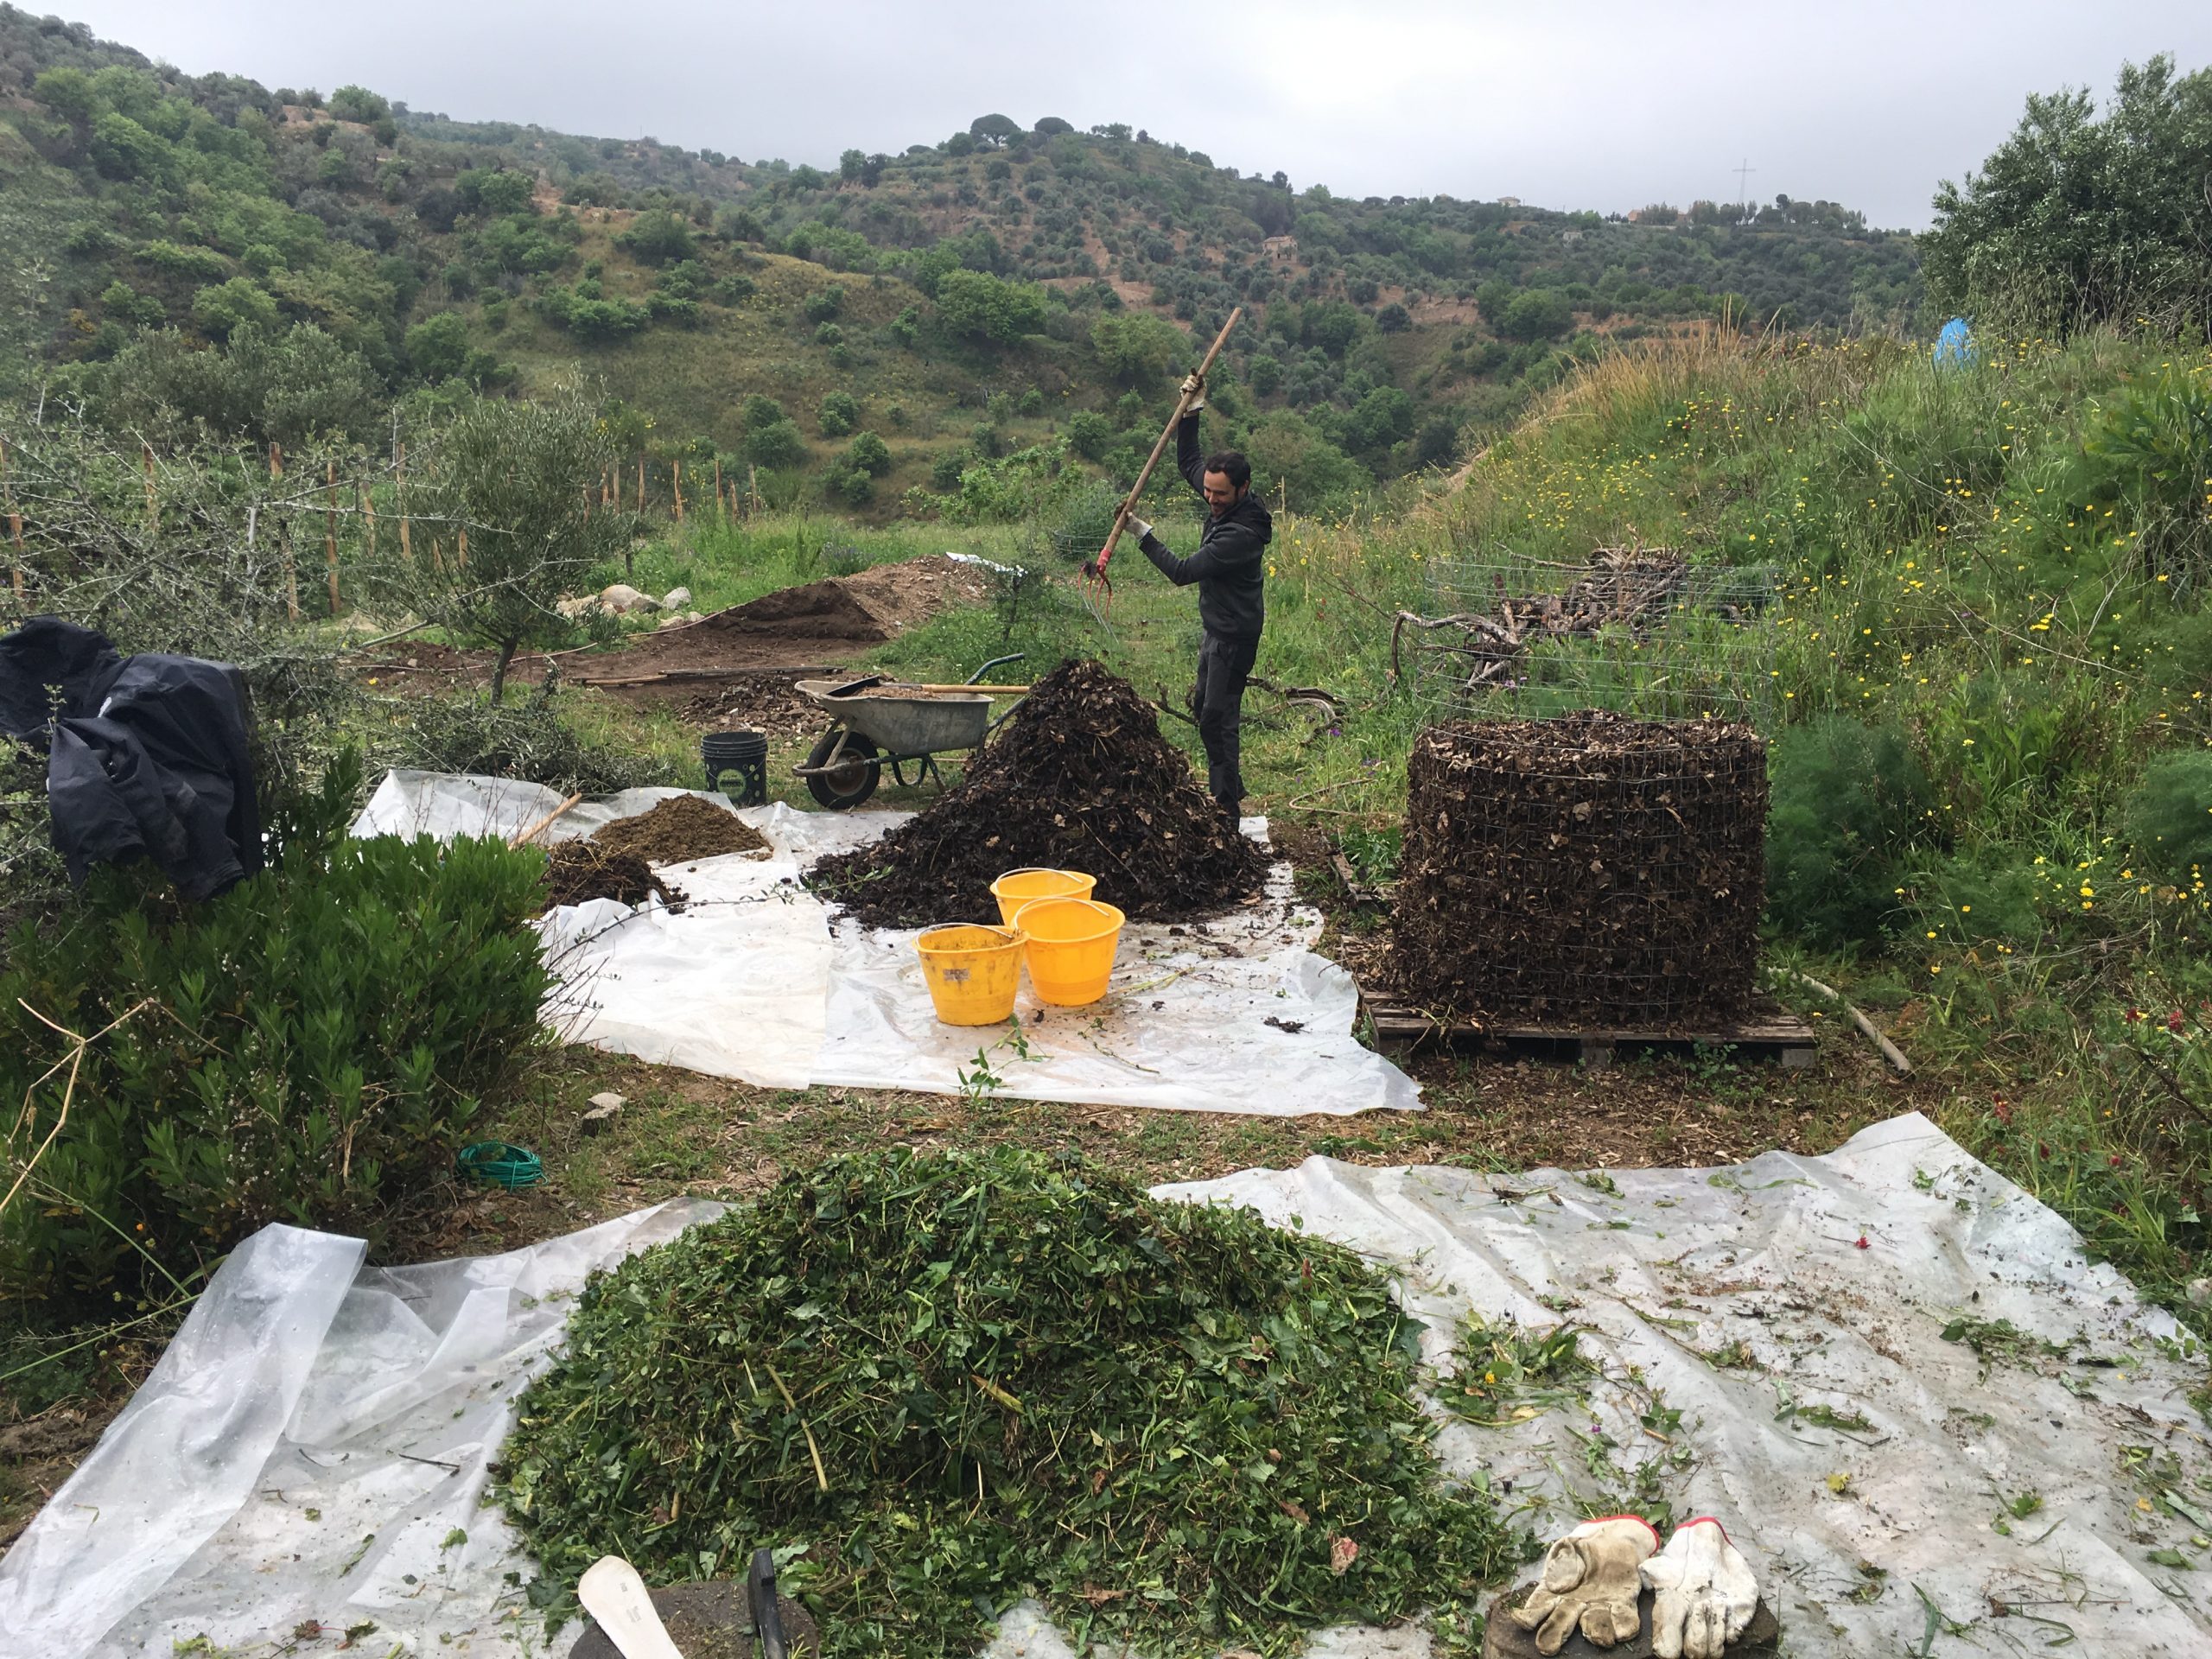
We gather material some days before the construction of the Bioreactor.
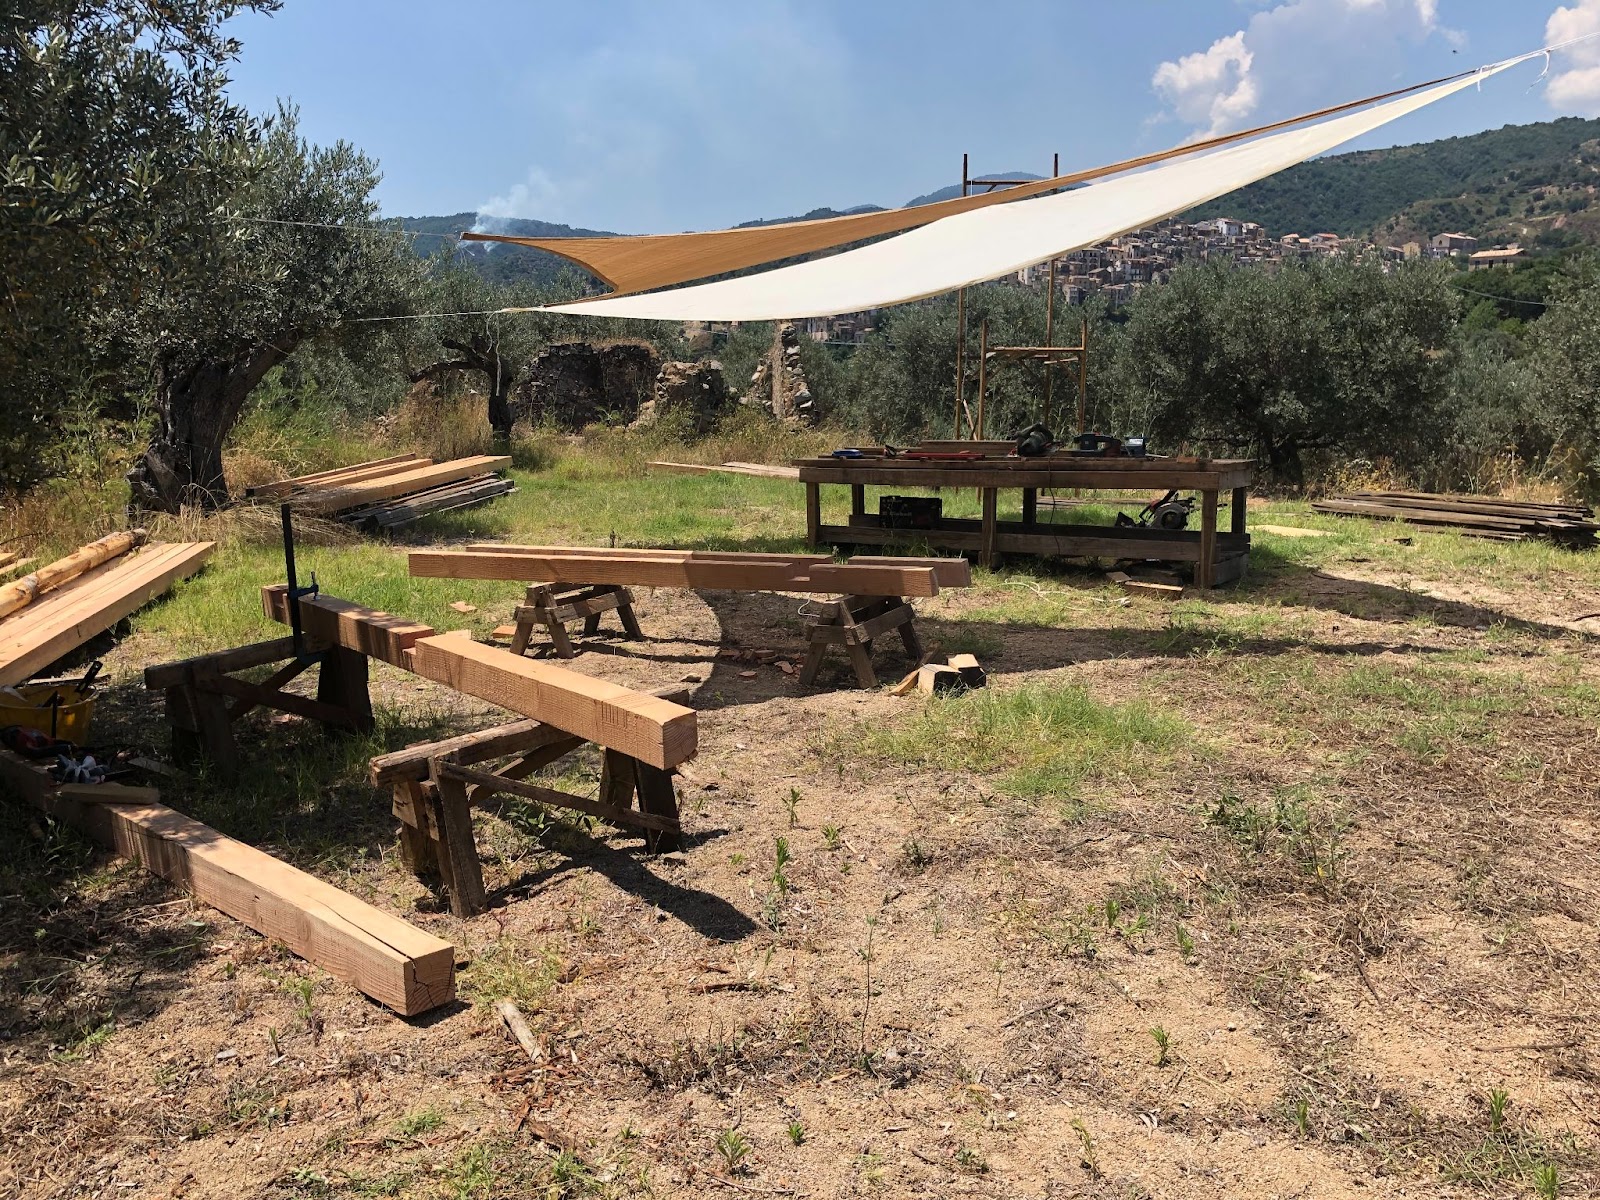
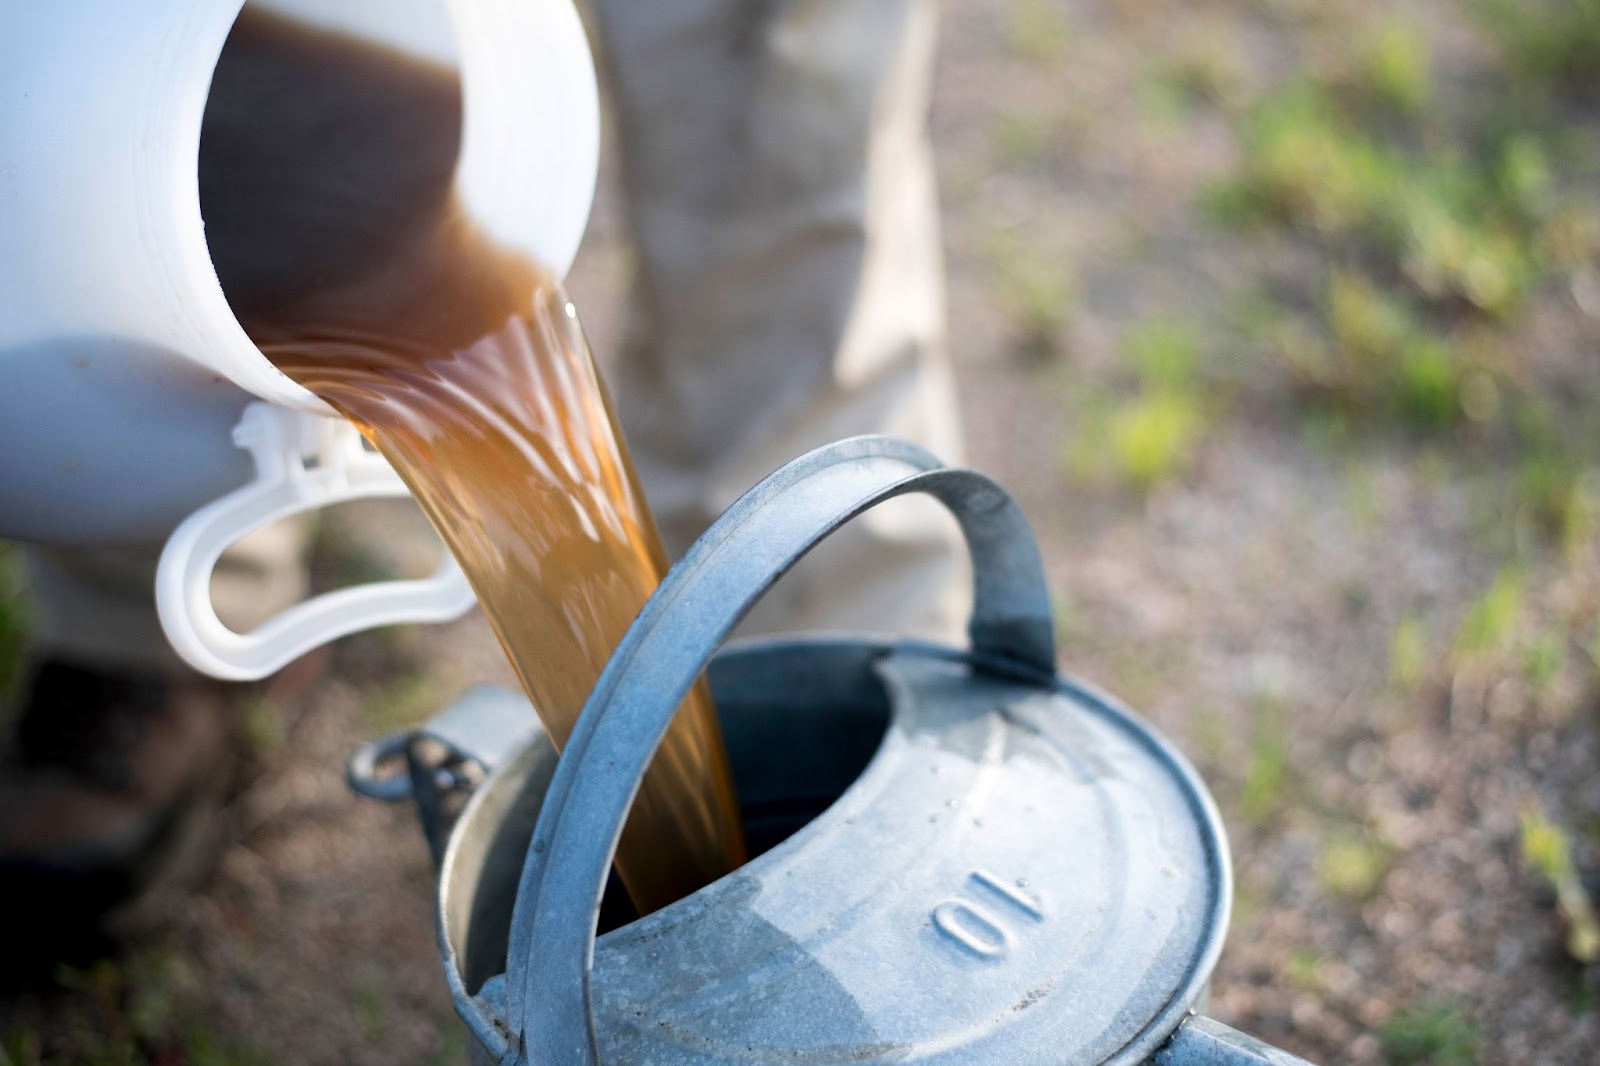
Picture at the right gives an overview of the working station where we soak the carbon material (woodchips) and the nitrogen-rich material (cow manure).


The most important thing is allowing it to mature long enough — for a year. Yes, one long year! but the final material obtained through this process is really worth it.
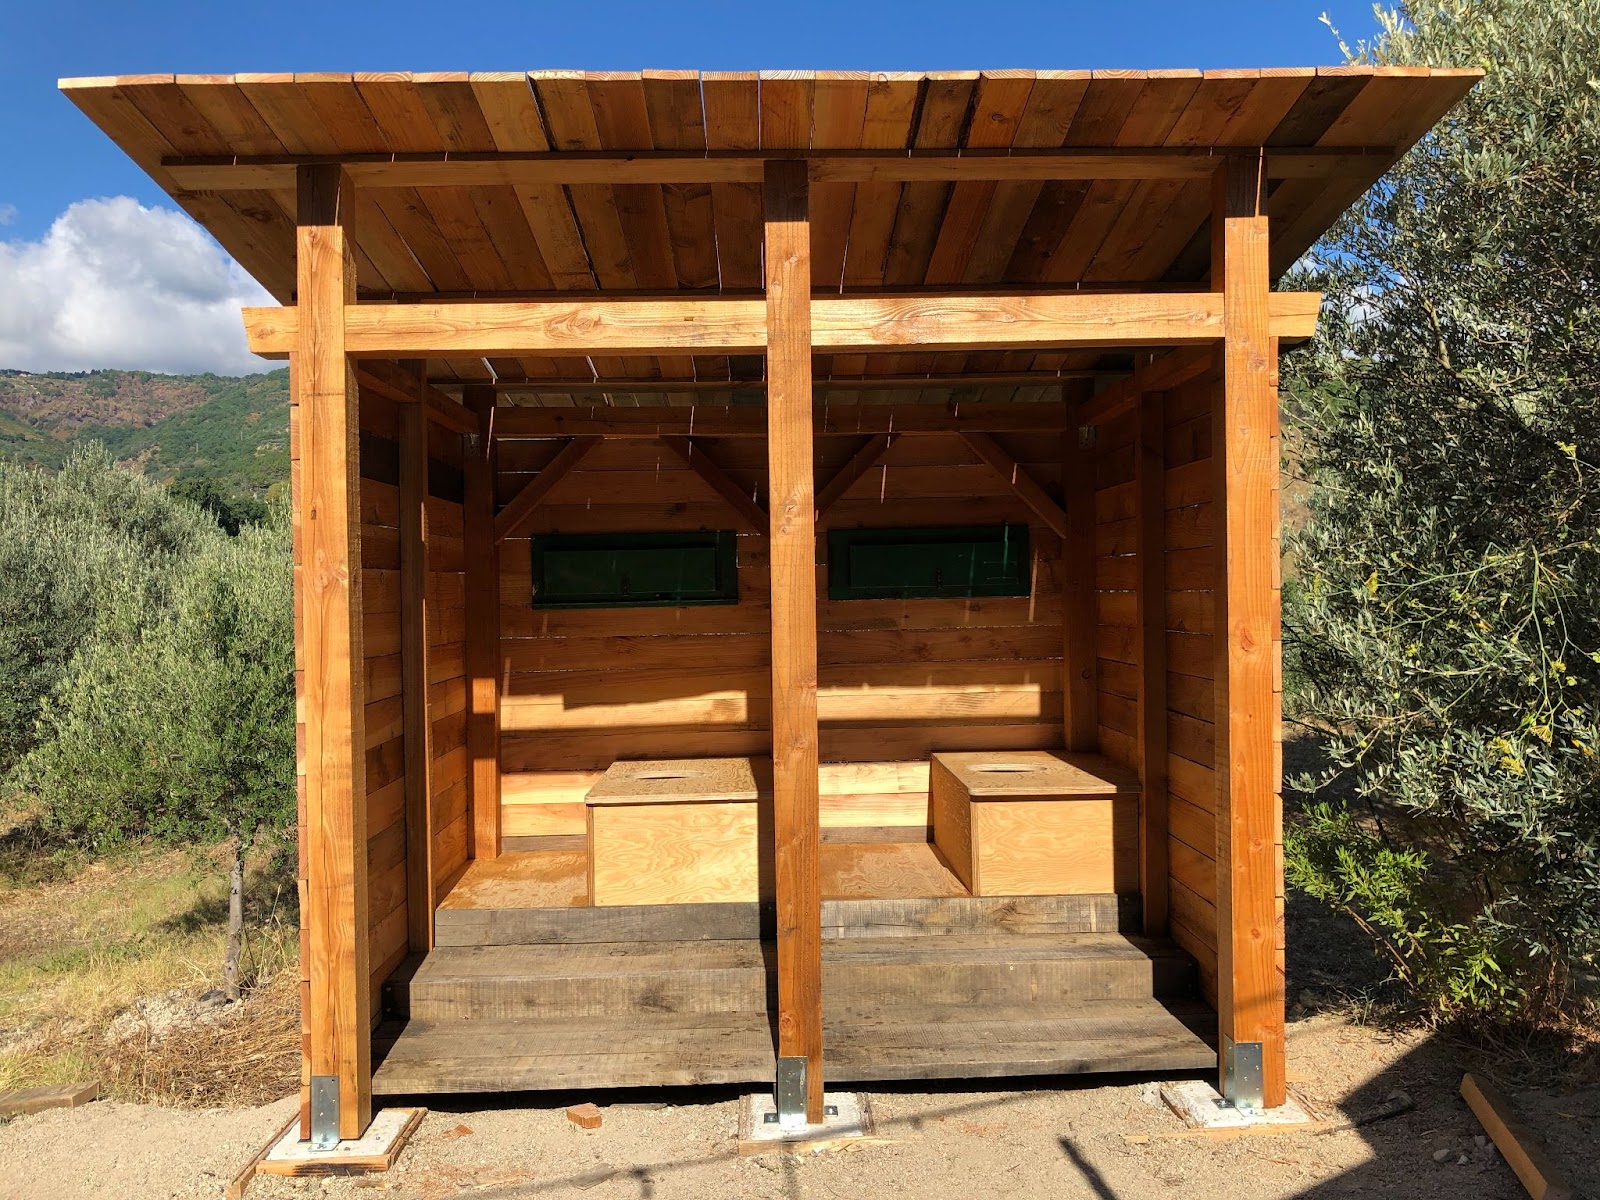
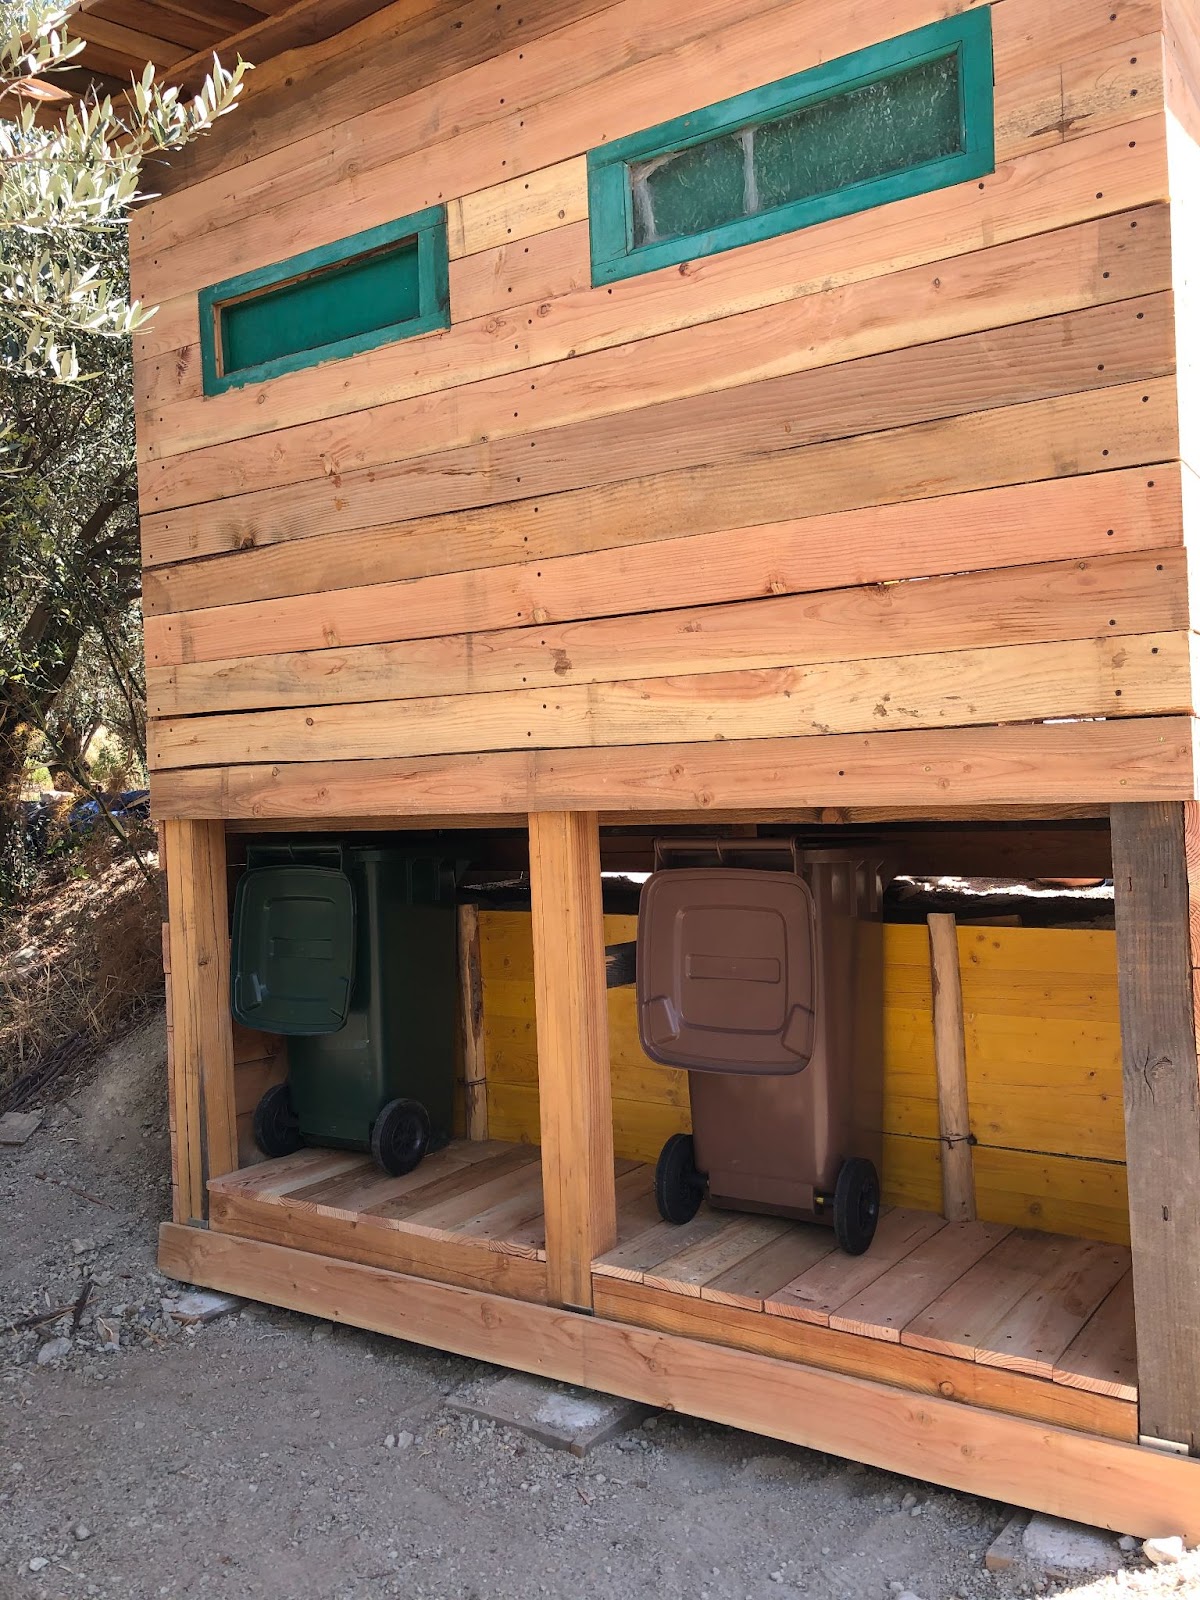
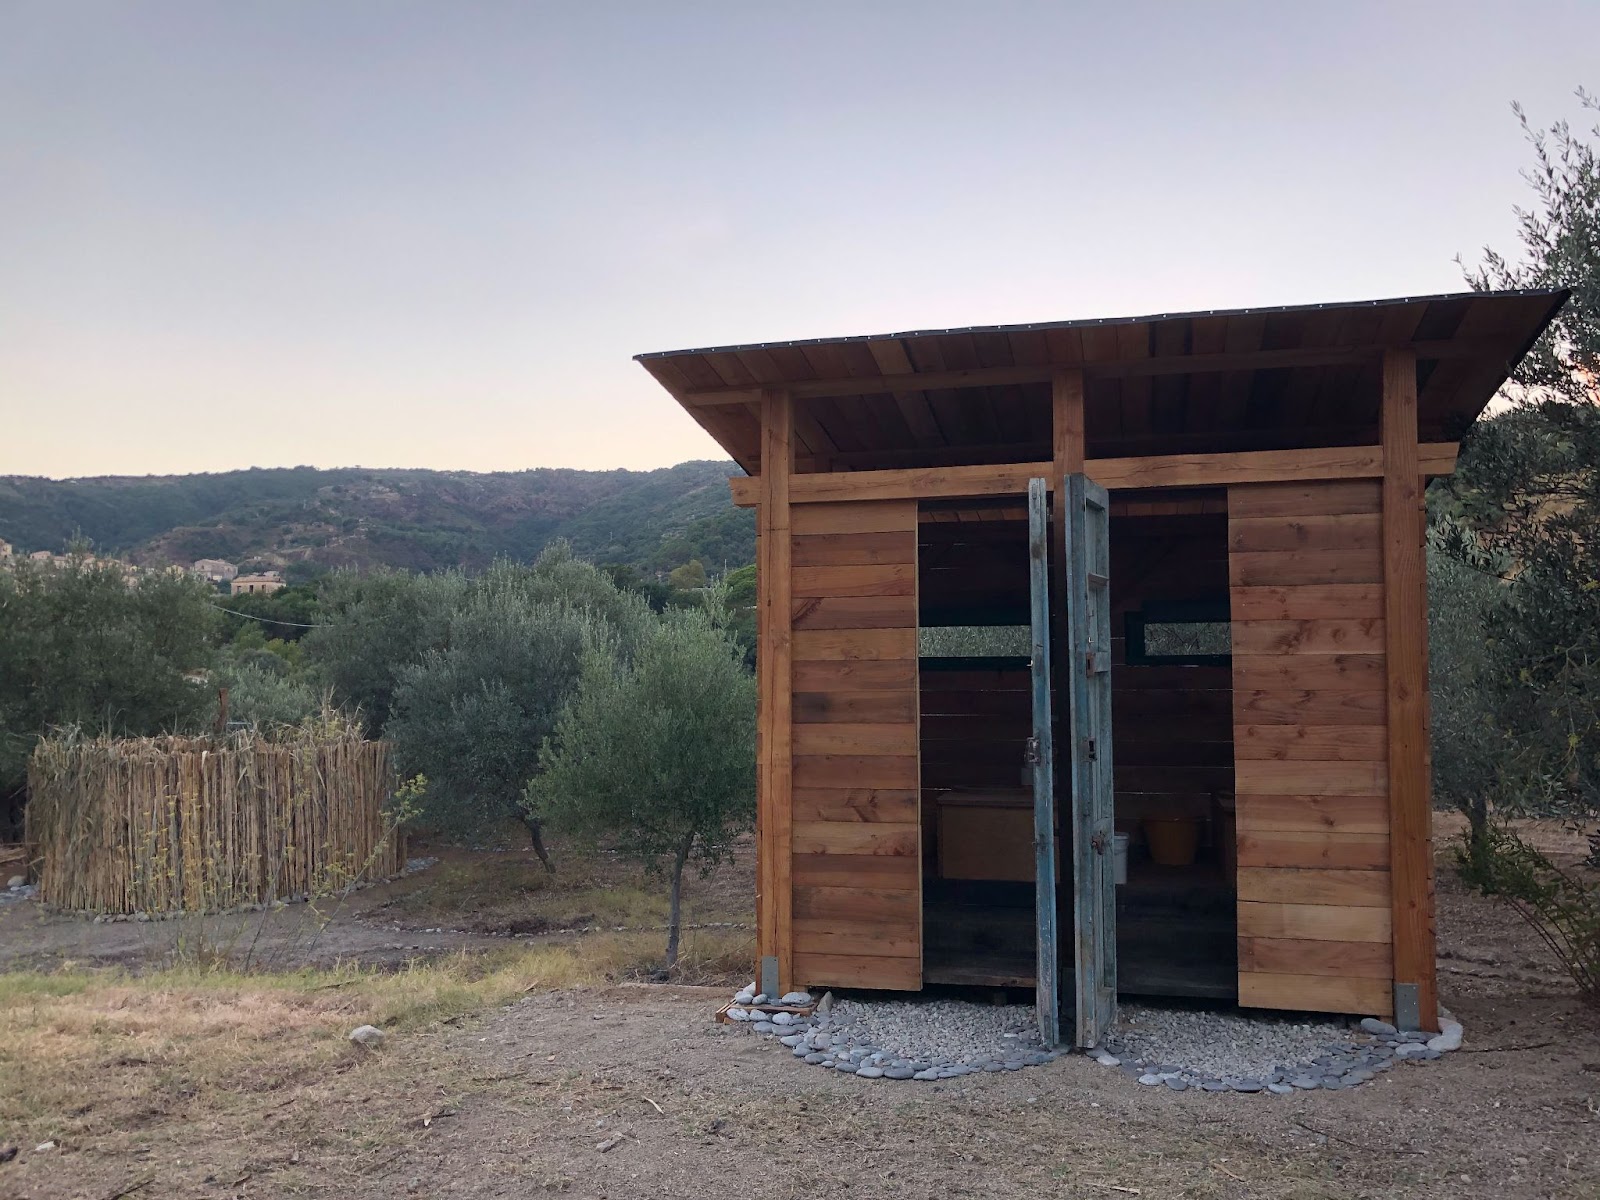
Picture at the left: view of the Bioreactor once filled and with the plastic pipes.
As we add the carbon and nitrogen-rich materials, the pile starts heating up for a couple of days.
Microorganisms start reproducing and generating heat quickly.

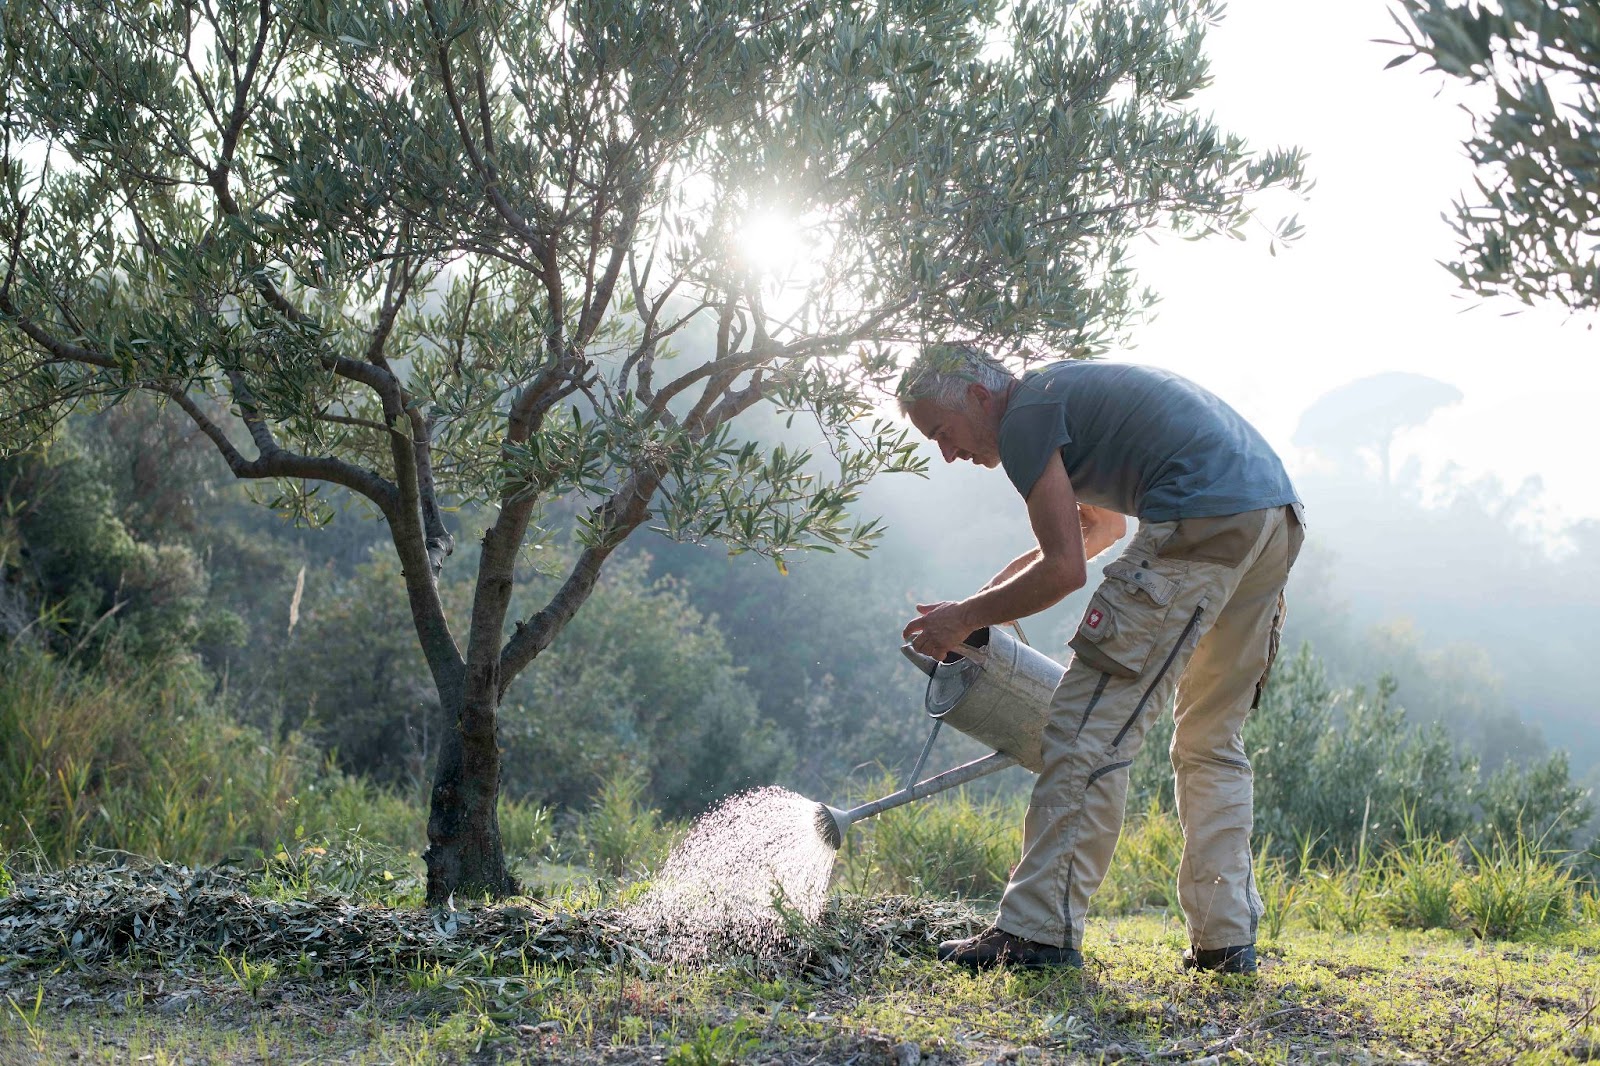
Also, moisture is a very important aspect of keeping the pile under ideal conditions for the microorganisms to thrive. The pile should keep a moisture level around 70% so the installation of an irrigation system is recommended.
You can find all the instructions from New Mexico State University here.
As we are curious people, 4 months after building the bioreactor we took a look at the partially composted material under the microscope and the results were outstanding. The diversity and richness in microbiology were amazing (some pictures below).


We will use the final compost, after a year, as an inoculant for compost extracts, compost teas, and as mulch around the trees. We also see this material as a perfect complement to one of the most useful techniques in regenerative agriculture: cover crops!
Cover crops will feed the microbiology coming from the Bioreactor with sugars produced during photosynthesis (root exudates), and all together will regenerate the soils and the health of plants and trees.
Why do we love to see fungi in our land?

Our biggest interest in this Bioreactor is the fact of avoiding any disturbance, being high in carbon materials, and therefore, creating a perfect environment for fungi to thrive and grow.
Yes, we love to see fungi in our land!
Unfortunately, since the beginning of conventional agriculture in the early 20th century, agricultural practices have been extremely detrimental to fungal communities.
These fungal communities are essential to get healthy soil as they support the nutrient cycle of plants, making nutrients available (through powerful enzymes), establishing synergies between fungi and plants (exchange of sugars produced through the plant photosynthesis, called exudates, and water and nutrients provided by the fungi) and, last but not least, sequestering carbon by the formation of complex humic chain molecules in the soil.
Most of our soils are bacterial-dominated with almost no presence of fungi, meaning that the fungal-bacteria ratio is very low. This implies that in some cases, even more than 95% of the carbon (sugars) captured by the plant through photosynthesis goes to the soil to feed the microbial communities. However, in healthy soil, where fungi are present and therefore the fungal-bacterial ratio is higher, the plant only needs to send around 40-50% of the carbon to the soil keeping the rest of it for its own growth and development.
No wonder it makes us very happy when we see fungal hyphae in our soils with the help of our microscope.
And just a final note…
Science is unable to understand all the processes happening in the soil through the interactions between different microbial groups and quite often it uses a linear way of thinking, unfortunately. However, what seems more and more clear is that an increase in the diversity and presence of these groups can be translated into a higher resilience and strength. That’s why it’s so important to use tools like the Bioreactor to add that diversity.
In the same way, human health is dependent on the diversity and health of our microbial gut communities. Interesting, isn’t it?
Could the understanding of how the soil works help us to understand how the microbes in our guts interact and work for us, or vice-versa?
While we try to answer this question, we will continue taking care of our soils with the help of powerful microscopic armies produced in bioreactors and other composting processes, as we will continue taking care of ourselves by eating quality food produced in healthy soils.